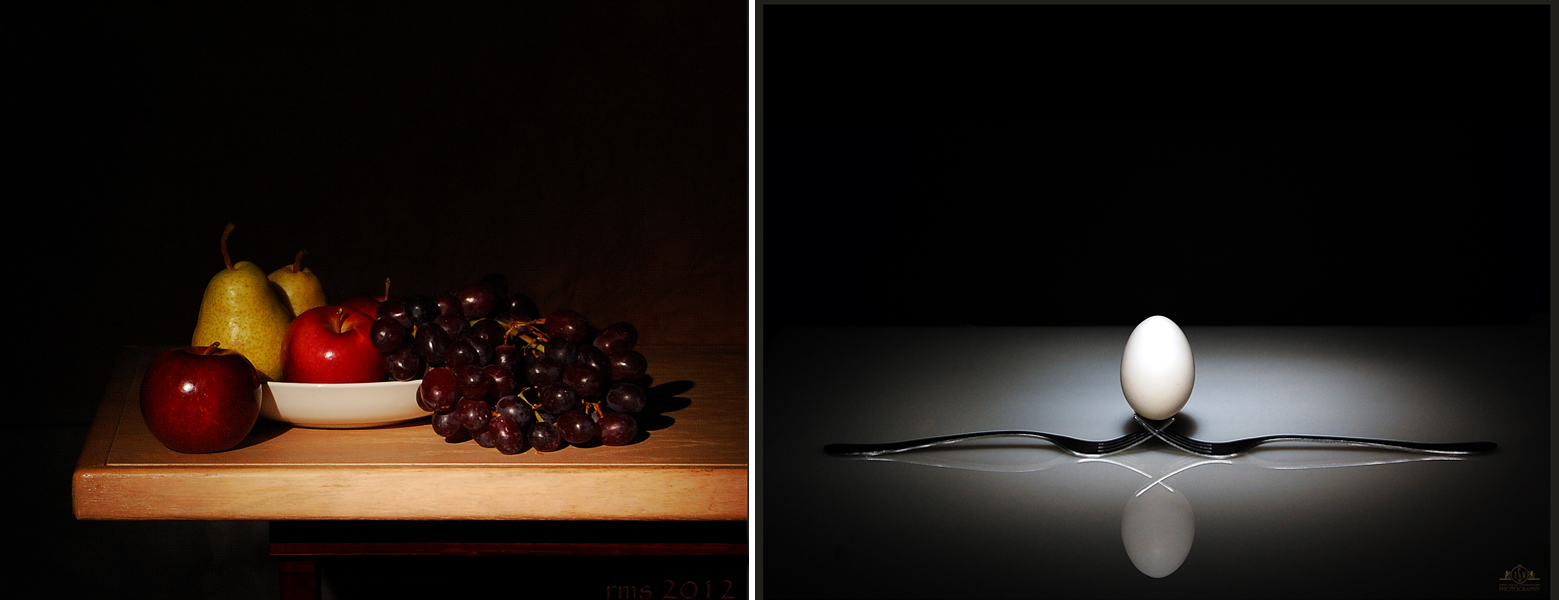
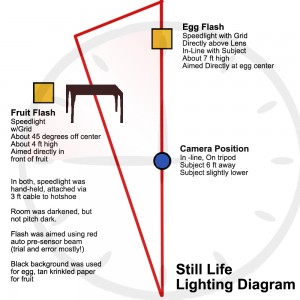
 One doesn’t always need complex lighting to create stunning photos.
These still life photos were shot using one speedlight, fitted with a grid to create a narrow rather than wide beam of light. The speedlight was attached to the camera’s hotshoe via 3 ft. coiled cable, and hand-held for ease and flexibility of aiming.
See diagram below for visual to go along with text explanation.
The camera was positioned on a tripod, centered, about 6 ft from the subject. The camera’s vertical position was just a bit higher than the subjects.
For the fruit photo, I stretched out my left arm holding the flash as far out as I could, but pretty much no closer or further from the subject than the camera. Same plane in other words. This allowed me to throw the desired shadow into the scene. While we don’t always like shadows, a good still life thrives on the greater contrast. Through trial and error I found the best place to aim the flash, which was just slightly in front of the subject.
For the egg photo, I used the exact same setup, only this time I held the flash directly above the lens to create a symmetrical lighting pattern surrounding the egg. I raised the flash as high as I could to keep the egg’s shadow small and directly behind the egg. I found by accident, that you could use the speedlight’s red, pre-flash TTL beam to assist in aiming the flash. (I was using the Nikon SB-600 Speedlight with custom grid on a Nikon D-40 Camera)
Here is the diagram:
By Robert Schwarztrauber


